THE REAL-80 PRO EMULATOR
Real-80 Pro - Real-Time Videogenie-I / HT1080Z Emulator v2.4.4
Pictures in the documentation can be enlarged!
System requirements
P233 or faster CPU, Windows operating system (98, ME, 2000, XP), DirectX 7 or later.
Emulator properties
- 1.774 MHz CPU clock, precise Z80 cycles times, entire Z80 command code including the non defined ones and XF/YF flags.
- Z80 Reset (F11), NMI (F12), INT lines
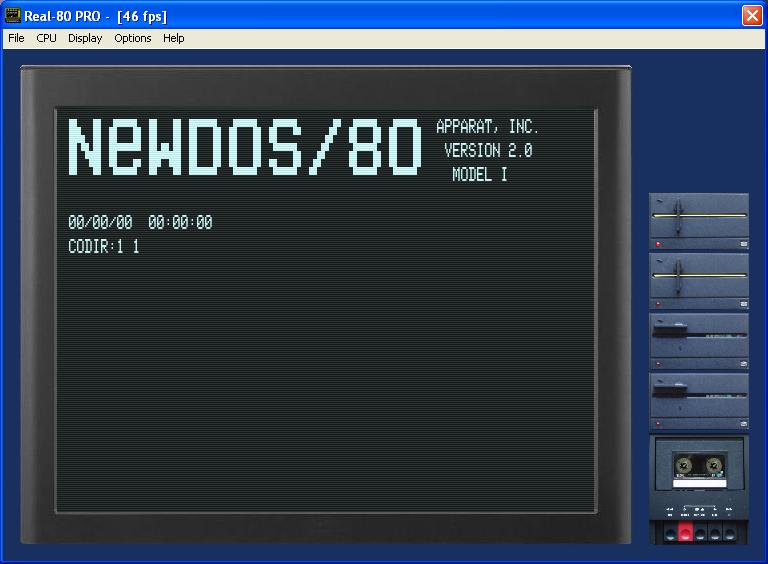
- All three HT-1080Z series ROMs and character generators included with selectable 16/48K memory
- Full HT keyboard with CUT (F5) and PAGE (F6) keys, Pause mode
- Tape recorder, printer, four 5 1/4" SS SD floppy disk, internal clock
- Yamaha YM2149 sound chip (originally suppurted only in HT series
- Micolor 01 (hungarian expansion board) and Lowe Electronics LE18 graphic board
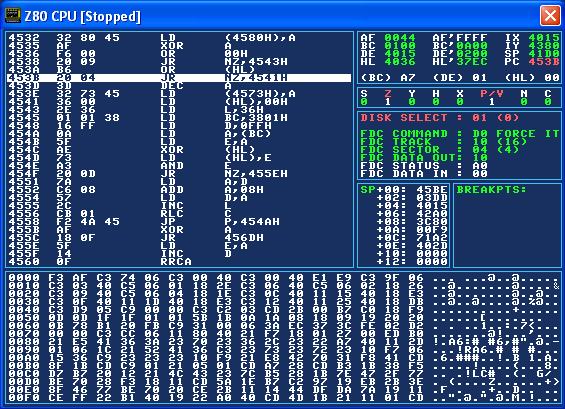
- Built-in debugger
- Audio: 8 bits, Mono, 22050Hz
- Screen snapshot F8 into BMP or JPEG file
- Turbo mode, 2x or Full (20x)
- Program autostart, text file input as keyboard
- Predefined and custom "skins
- Favorites
Starting the first time
When starting the emulator the first time, it will run
according to the default settings:
- No tape inserted, disk drives are empty
- HT-1080Z first series with 48K RAM
- Micolor 01 emulation enabled
- "High contrast" skin
The tape recorder
The tape recorder emulation works in real-time mode. This means, that independent of the file format, but there are some conditions: the tape writing always starts with 255 pieces 00h character. This way when reading its easier to find the beginning of the file, as well as the sign pitch. Actually there is also another reason for this; because of the write/read mode it must read at least 8 pcs of 0 bits continuously, before the data. The file on the start does not need to contain 255 pcs 00h character, 2 pcs are enough but it can also be more.
The file extension can be ASM, BAS or CAS. This way not every file includes the data, so the emulator supports some frequent file formats:
- .ASM - The file starts with a D3h character. The emulator will replace the missing synchronization signals and the file beginning indicating A5h character.
- .BAS - The file starts with an FFh character. The emulator will replace the missing synchronization signals and the file beginning indicating A5h character, as well as the basic type 3 pcs D3h character. It will skip the first FFh character.